
9.7: Laboratory Activities and Assignment
- Page ID
- 53655

Laboratory Activities and Assignment
Part 1: Review of the Appendicular Skeleton
Pectoral/Shoulder Girdle
1. Label the following in the image of the anatomical model below:
|
|
|
2. Label the following in the image of the anatomical model below:
|
|
|
Upper Limb
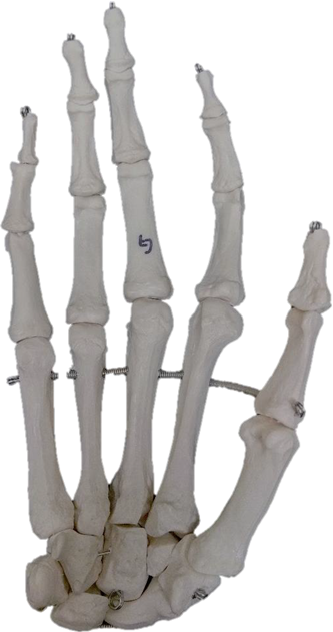
1. Label the following in the image of the anatomical model below:
|
|
|
2. Label the following in the image of the anatomical model below:
|
|
|
3. Label the following in the image of the anatomical model below:
|
|
|
Pelvic Girdle
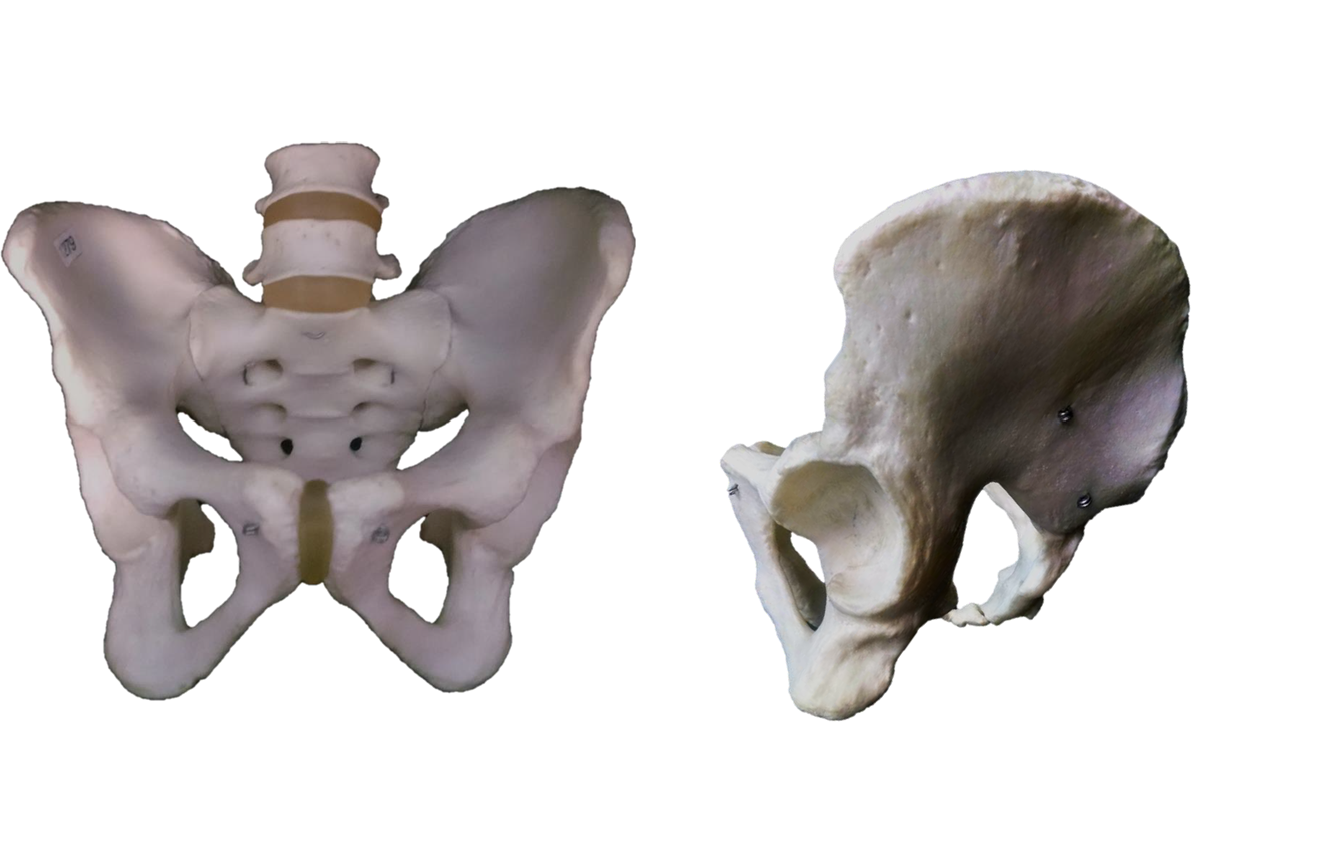
1. Label the following in the image of the anatomical model below:
|
|
|
Lower Limb
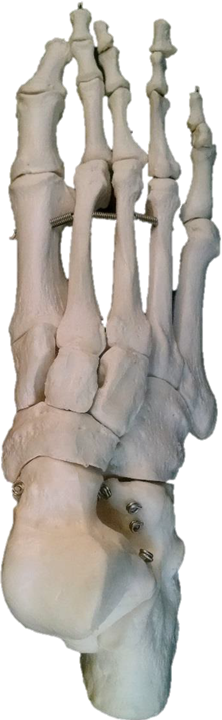
1. Label the following in the image of the anatomical model below:
|
|
|
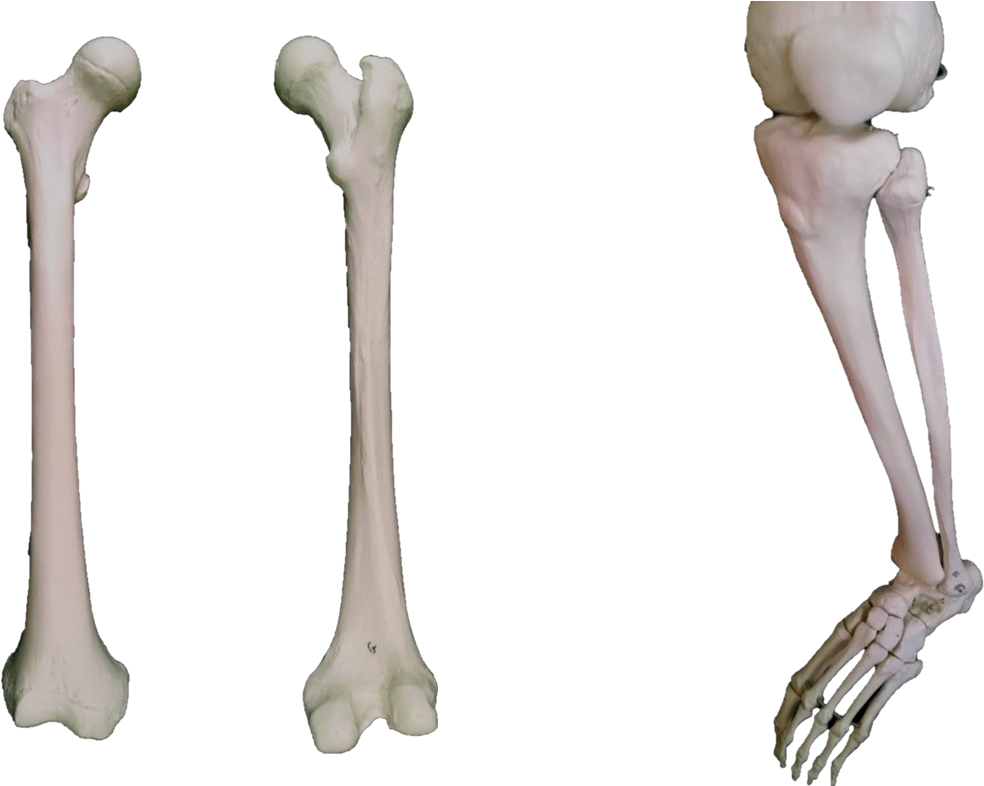
2. Label the following in the image of the anatomical model below:
|
|
|
Part 2: Laboratory Activities - Pectoral/Shoulder Girdle & Upper Limb
Pectoral/Shoulder Girdle
- Using one of the full skeletons in the room, fill out the blanks for 1-4 below with steps to determine whether an individual scapula comes from the anatomical left or anatomical right. You must use any features that are already filled in. The clavicle was done as an example.
- You can describe any features on that bone and which direction it has to face to allow you to determine whether that particular bone came from anatomical left or anatomical right.
- Sample instructions for the clavicle are provided as an example for all subsequent exercises. Use proper anatomical terminology. Use terms which will make sense to anyone schooled in anatomy if they read it. Use as many steps as you need, not necessarily four.
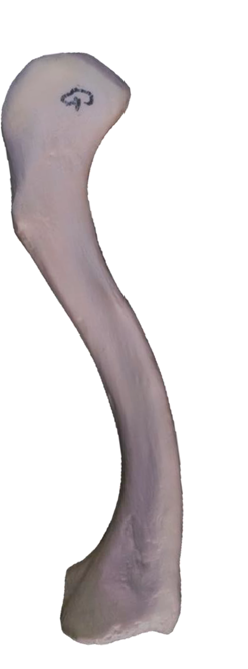
Clavicle – Anatomical left from anatomical right
- Put the smooth side of the acromial end facing superiorly.
- Put the curve in the middle of the bone facing anteriorly.
- If the acromial end is on the right, the clavicle is from the anatomical right.
- If the acromial end is on the left, the clavicle is from the anatomical left
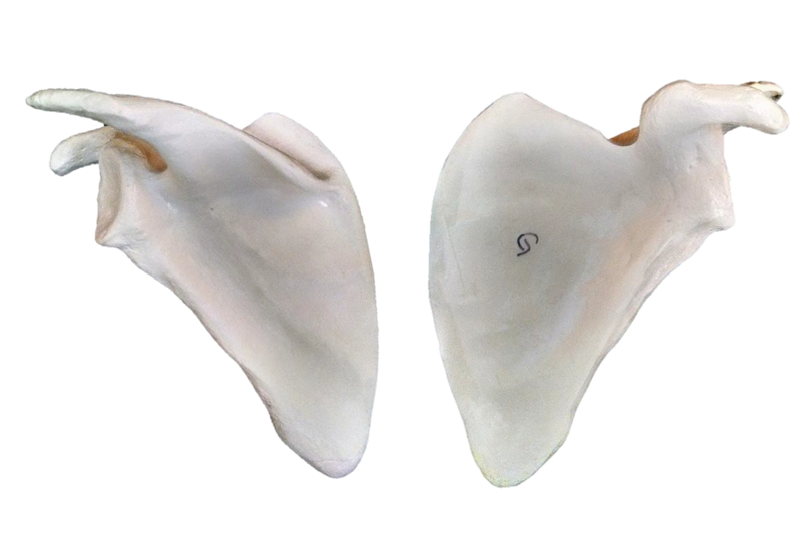
Scapula – Fill in four steps to determine anatomical left from anatomical right
1. Glenoid cavity -
2.
3.
4.
Upper Limb
- Using one of the full skeletons in the room, fill out the table lists below with three or four steps to determine whether an individual bone comes from the anatomical left or anatomical right. You must use any features that are already filled in.
- You can describe any features on that bone and which direction it has to face to allow you to determine whether that particular bone came from anatomical left or anatomical right.
- Sample instructions for the clavicle are provided above as an example for all subsequent exercises. Use proper anatomical terminology. Use terms which will make sense to anyone schooled in anatomy if they read it. Use as many steps as you need, not necessarily four.
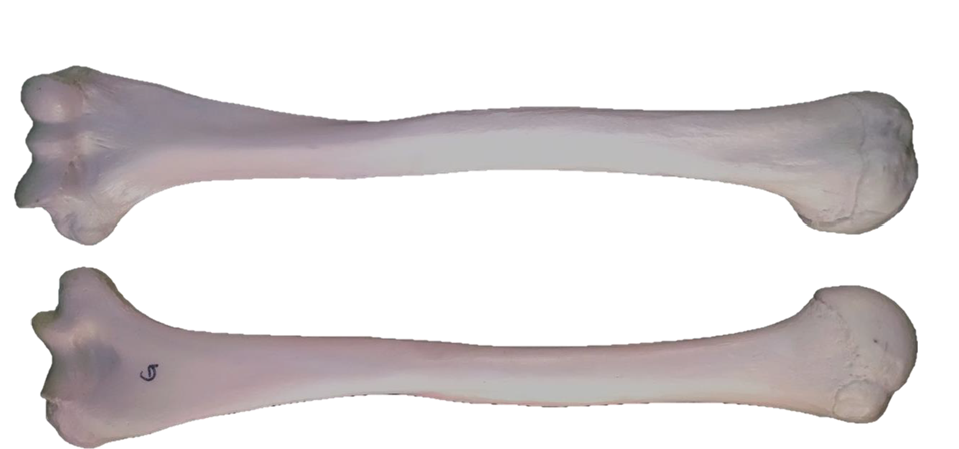
Humerus – Anatomical left from anatomical right
1. Olecranon fossa -
2.
3.
4.
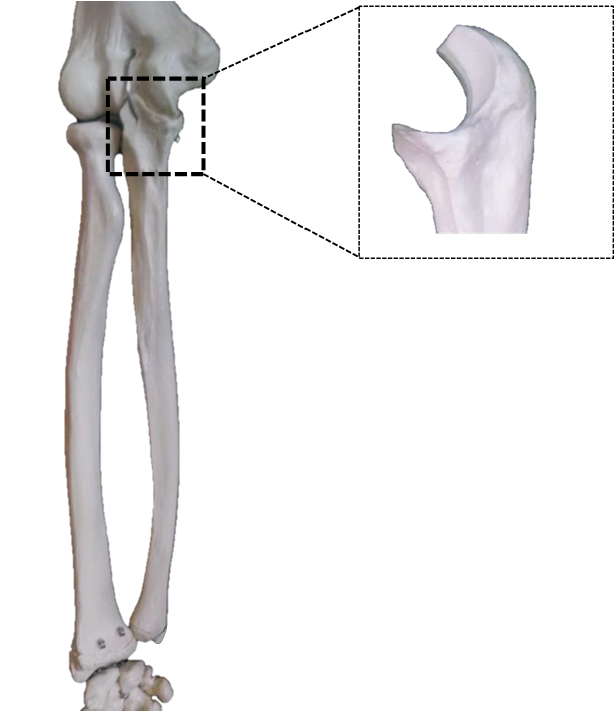
Ulna – Anatomical left from anatomical right
1. Radial notch -
2.
3.
4.
Radius – Anatomical left from anatomical right
1. Styloid process -
2.
3.
4.
Part 3: Laboratory Activities - Pelvic Girdle & Lower Limb
Pelvic Girdle
- Using one of the full skeletons in the room, fill out the list below with three or four steps to determine whether an individual bone comes from the anatomical left or anatomical right. You must use any features that are already filled in.
- You can describe any features on that bone and which direction it has to face to allow you to determine whether that particular bone came from anatomical left or anatomical right.
- Sample instructions for the clavicle are provided above as an example for all subsequent exercises. Use proper anatomical terminology. Use terms which will make sense to anyone schooled in anatomy if they read it. Use as many steps as you need, not necessarily four.
1. Pubis -
2.
3.
4.
The Pelvis
Obtain an intact pelvis from the cabinet. Determine if the pelvis came from a male or female. Give three lines of evidence to support your conclusion.
Male or female?
- Evidence 1:
- Evidence 2:
- Evidence 3:
Lower Limb
1. Using one of the full skeletons in the room, fill out the list below with three or four steps to determine whether an individual bone comes from the anatomical left or anatomical right. You must use any features that are already filled in.
2. You can describe any features on that bone and which direction it has to face to allow you to determine whether that particular bone came from anatomical left or anatomical right.
3. Sample instructions for the clavicle above are provided as an example for all subsequent exercises. Use proper anatomical terminology. Use terms which will make sense to anyone schooled in anatomy if they read it. Use as many steps as you need, not necessarily four.
Femur – Anatomical left from anatomical right
1. Head -
2.
3.
4.
Tibia – Anatomical left from anatomical right
1. Tibial tuberosity -
2.
3.
4.
Fibula – Anatomical left from anatomical right
1. Lateral malleolus -
2.
3.
4.
Calcaneus bone
1.
2.
3.
Talus bone
1.
2.
3.
Attributions
Part 1: Review of the Appendicular Skeleton
- "Anatomy and Physiology Lab Homework" by Laird C Sheldahl is licensed under CC BY-SA 4.0
Part 2: Laboratory Activities - Pectoral/Shoulder Girdle & Upper Limb
- "BIOL 250 Human Anatomy Lab Manual SU 19" by Yancy Aquino, Skyline College is licensed under CC BY-NC-SA 4.0
Part 3: Laboratory Activities - Pelvic Girdle & Lower Limb
- "BIOL 250 Human Anatomy Lab Manual SU 19" by Yancy Aquino, Skyline College is licensed under CC BY-NC-SA 4.0